
6mm is a great scale. It’s about the smallest figure scale you can have and still retain individual detail on the models and you also get a much closer relationship between figure scale and ground scale. Back in the day of WRG 6th edition, you could put 20 6mm figures on a 25mm-sized base and play the game in 1:1 ground and figure scale. Even when the ground scale increases, 6mm terrain retains much more realism than the mere representation of larger scales. A single building representing a village in 15mm can be a much more satisfying group of buildings in 6mm. 6mm is not just another step down from 28mm to 15mm, it’s in a class by itself. Yes, 6mm is a great scale. The only problem is I absolutely hated painting the damn things. And nothing would induce me to doing anything in that scale because of it. Then ‘Blucher’ came along.
I’m a bit of a fan of Sam Mustafa’s game design, so Blucher looked like the ideal way to play Napoleonic battles without needing a whole weekend. Now, the prospect of doing it in 15mm was way too daunting, so 6mm seemed like the obvious solution. I managed to trade/buy a lot of French ready-painted to start with. However, it was obvious that I’d need to do some units of my own to fill them out. So I figured I could put up with the chore of painting the things and prepared to revisit the scale.
I watched a few videos and read some guides on painting 6mm in an attempt to get some kind of impression of how to go about it in a better way than I had previously. I quickly realised that the mistake I’d been making was to treat 6mm figures as if they were just smaller 15mm ones. Much of my irritation with painting them stemmed from not being able to get all the detail on the figures. Clearly this was the wrong approach. I took some basic precepts from the various guides:
1. 6mm is about painting a unit, not painting individuals.
2. It’s OK to miss out detail that is too small.
3. You don’t have to be too exact with your brushwork, there’s no need to keep going back to correct every minor error.
Armed with this information, I got a 24 figure battalion of French line by Adler (The figures I’d bought already were Adler, so there was no choice here. I know some people don’t like them, but I never had to weigh up the whole Adler vs. Baccus thing). I undercoated them black as that’s what I’m used to. When the undercoat was dry I picked up a brush and started the stopwatch.
First off was to decide what not to paint. No shoulder straps, no cuff flaps, no piping except the turnbacks. Here I painted the turnbacks red when doing the cuffs and collar. Later I painted over in white, leaving a line of red for the piping. You could just as easily leave it out. Colours were all just block painted, as I was going to give the figures a wash of Army Painter soft tone after to pick out the belts and flesh details. The sequence was something like:
Paint coat blue. Paint cuffs, collar and TBs red. Paint front and trousers white. Paint gun and pack brown. Paint metal musket parts aluminium. Dabs of flesh on face and hands. Paint blanket roll grey. Paint two small lines for straps on backpack, the musket sling and the turnbacks (these are all thin white lines on the back of the figure, so easy to do in one go). Paint the brass plate on the shako. Then it’s just the shako cords, elite epaulettes, pompoms etc. One thing worth noting is that at this scale it’s probably best to use a lighter colour than you would normally. Not only does it stand out better, but if you are going to give them a wash afterwards, that’s going to darken the figure somewhat.
So, with all the figures done, I checked the stopwatch. 45 minutes. Now, I can’t say it was anywhere near as enjoyable painting those 6mm figures as it is 15mms or 28s, but 50 minutes for what was going to be a brigade on the tabletop? You may not get the ‘nice figure’ feeling of satisfaction after painting these guys, but you’re going to get twice as much of the ‘that’s them finished’ feeling. You’re probably going to be able to paint 5 times as many 6mm figures as 15mm figures in the same time, and that makes even the largest 18th-19th century projects feasible.
Here’s the result, based on a 60 x 40 base, representing a brigade in ‘Blucher.’ Individually, the figures aren’t great, but as a unit they look OK:
First thing is the cockades. I painted them white, as I certainly wasn’t going to paint them in the full tricolour, but they don’t look right. Subsequently, I adopted a very 6mm solution: I just didn’t bother painting them. It’s not noticeable and it’s better than plain white ones. The other issue is the static grass. Even 2mm static grass looks a bit messy sprinkled on a base, so I decided to use my static grass applicator in future. It means basing takes a bit longer, but I think it’s worth it if you have access to an applicator.
After filling in the French, I moved on to doing some Austrians. These were, understandably, even quicker to do. Here the static grass is much ‘neater’ on the base:
With figures being about 7p each, a 24-figure brigade is less than £2, and can probably be painted in less time than it’d take you to do five 15mm figures. This is a huge saving in terms of time and money compared with other scales. The mass effect makes for some great looking games too.
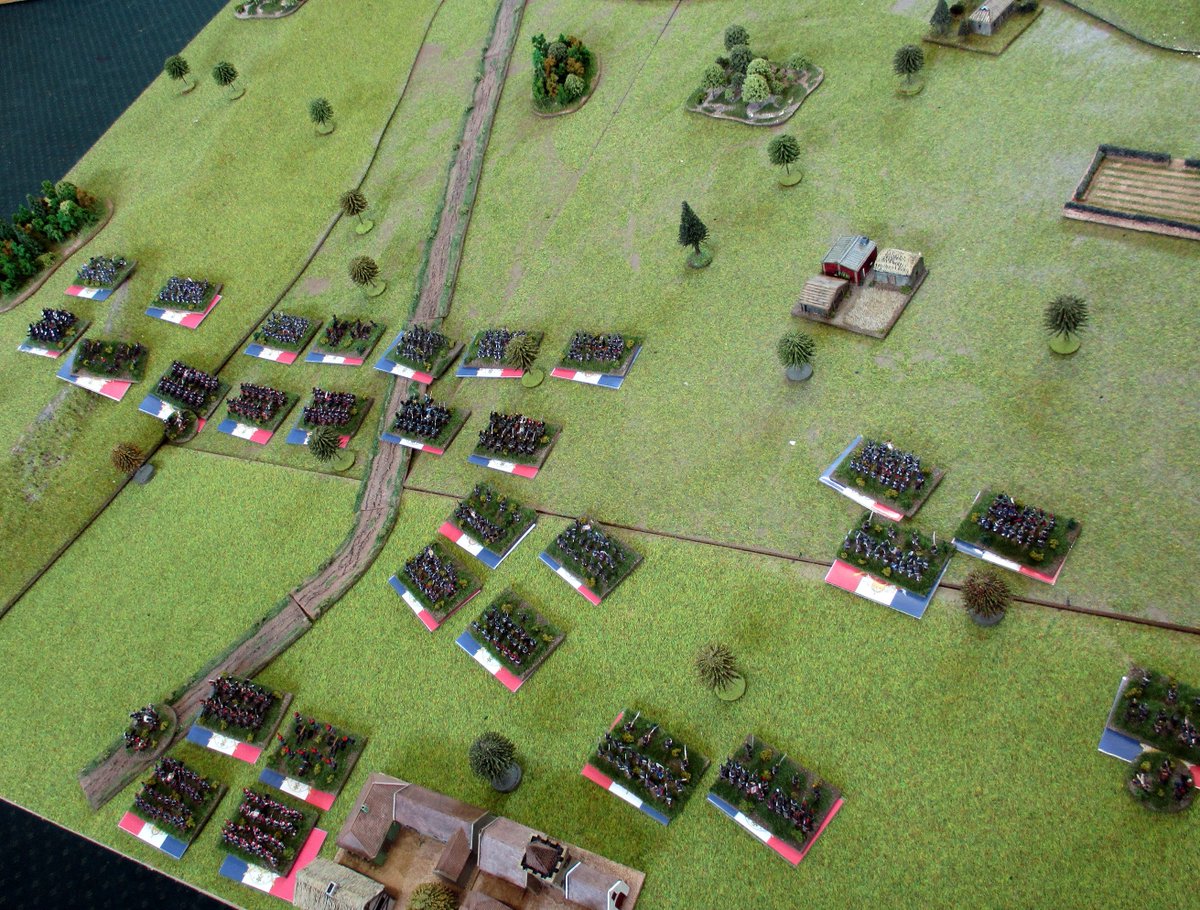
The figures in action during a game of Blucher:
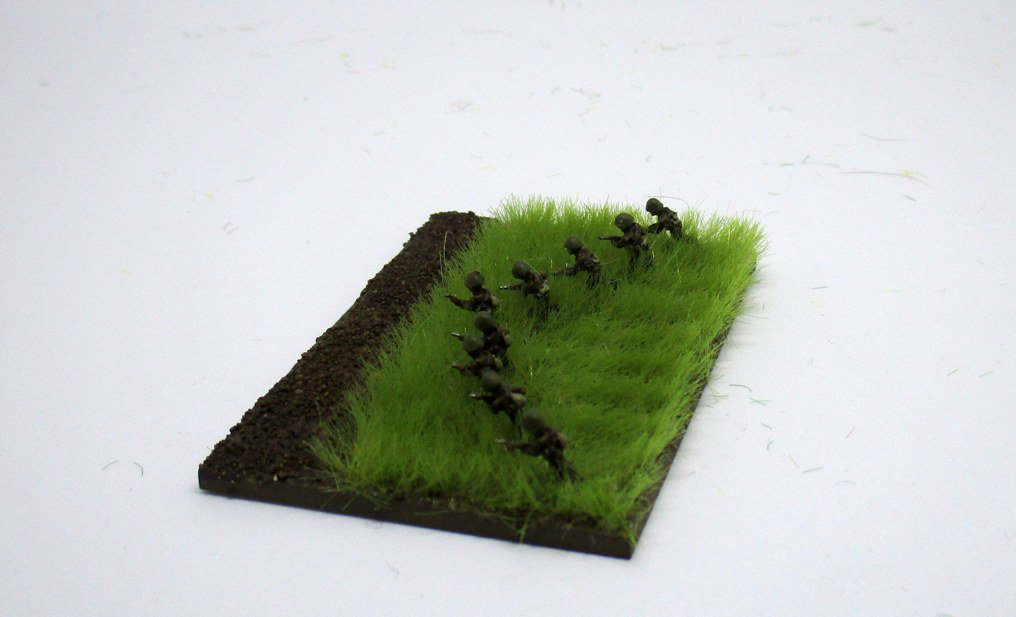
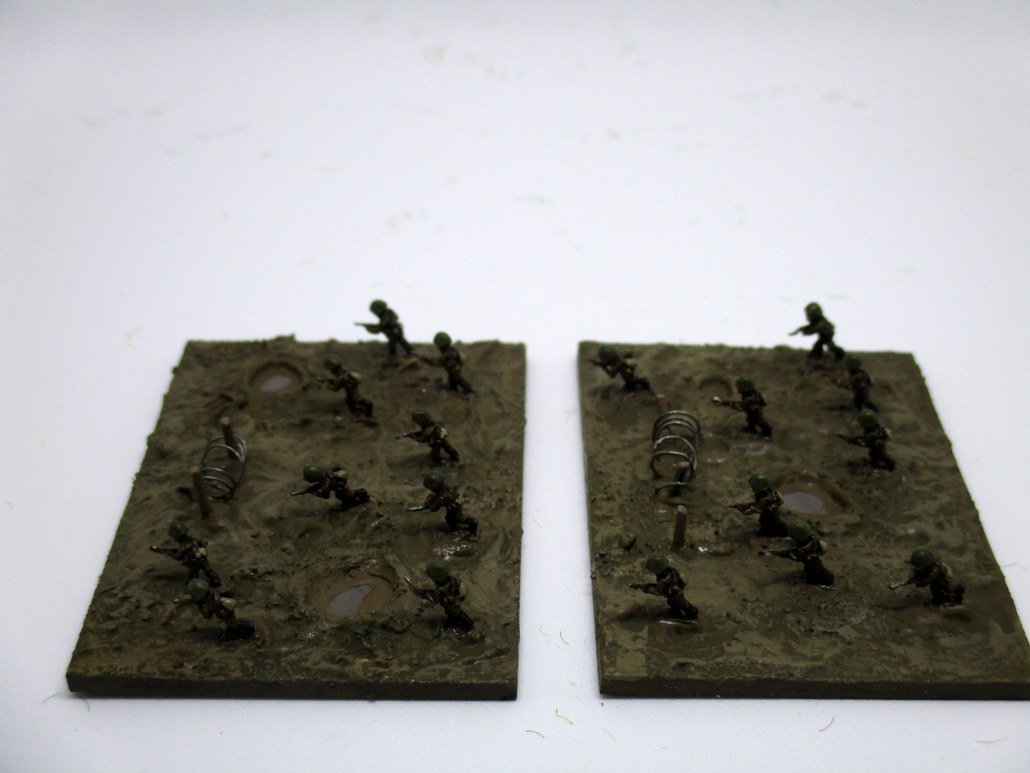
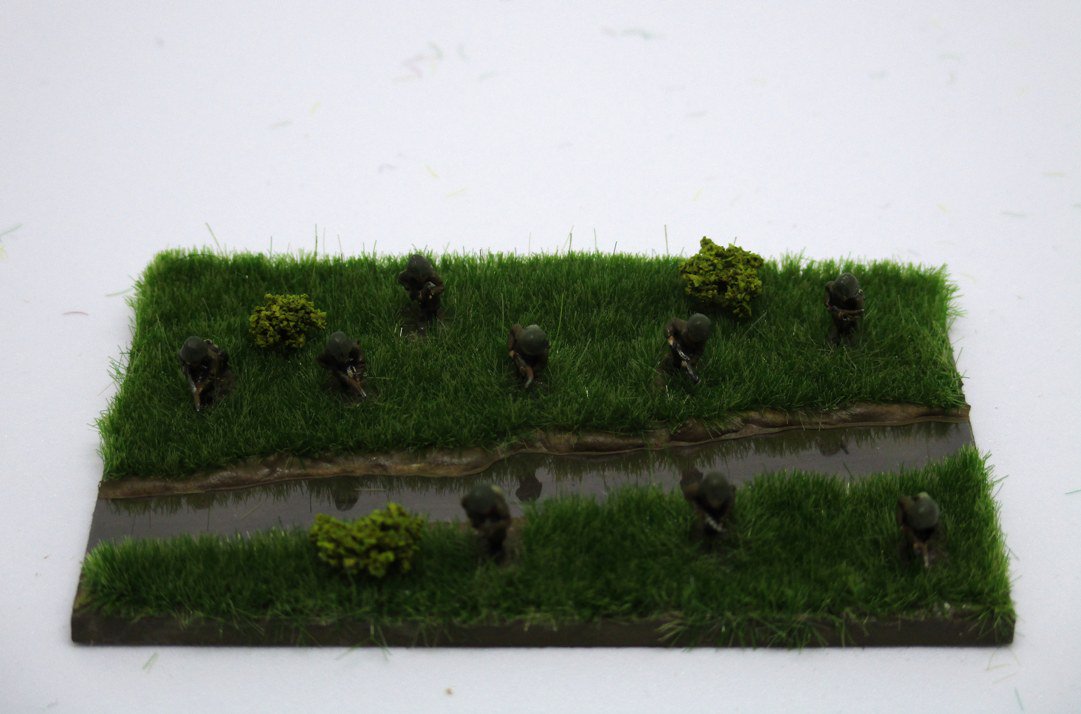
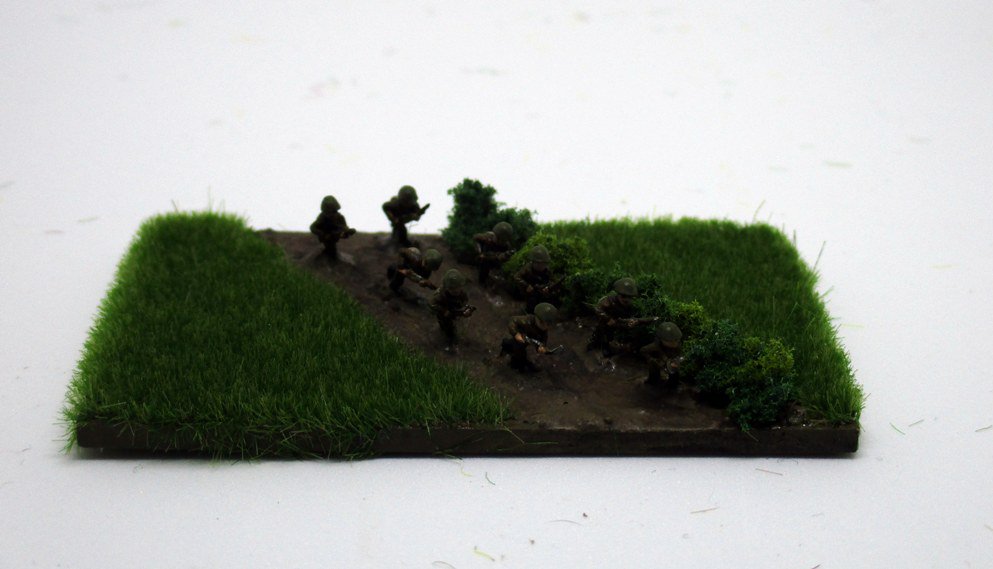
Later this year, Sam Mustafa is bringing out a WW2 game called ‘Rommel.’ This is apparently going to be a divisional level and up game, where a base equals a company. Now, unsurprisingly, painting WW2 infantry is a lot easier than painting Napoleonics, so doing this in 6mm is also a no-brainer. I’m going to use an infantry section on a 60 x 40 base to represent an infantry company. One of the other virtues of 6mm is the amount of extra stuff you can plausibly fit on a base in terms of scenery. All that time saved on painting the figures can be put into the basing. I’m looking forward to exploring this as the year goes on.
Some Soviet WW2 bases. Adler figures again:
So, if you’ve always felt you’d like to try 6mm but can’t face painting them, well, that was me a year ago. Really, if you can paint piping on a 15mm figure, then there is nothing smaller that you will have to paint on a 6mm figure. Think of them in terms of strips instead of figures, look at them in units not as individuals. 6mm makes some projects that couldn’t be contemplated in 15mm or 28mm possible.

Some great examples of your work. 6mm is a scale I’m coming round to more and more myself.
Cheers,
Pete.
Just found this post – it’s stunning. Nice one!
Cheers.